TL;DR
Play games included with Prime
Start a Prime free trial and play with Amazon Luna on your devices.
Start playingAs an affiliate, we earn on qualifying purchases.
Installing a grab bar correctly involves choosing the right location, materials, and mounting on solid surfaces like wall studs. Follow proper steps to ensure safety and durability, reducing fall risk in your bathroom.
Always mount grab bars into wall studs or use heavy-duty anchors rated for at least 250 pounds.
Position grab bars at 33-36 inches from the floor, near toilets and inside showers for optimal support.
Use a level during installation to ensure the bar is straight, preventing discomfort or slips.
Choose corrosion-resistant materials like stainless steel for long-lasting safety in wet environments.
Follow manufacturer instructions carefully and consider professional help for complex or heavy-duty installations.
How to Install a Grab Bar the Right Way
A properly installed grab bar gives you a dependable handhold where slips are most likely: beside the toilet, inside the shower, and near the tub. The right job starts with placement, solid backing, corrosion-resistant hardware, and a final stability check.
Mount into wall studs or solid structure first. Convenience comes second.
The right grab bar starts with the right decisions.
Choose the support location by daily movement, not by where the wall happens to look convenient. Then match the bar, surface, and hardware to the load it needs to carry.
Put support where weight shifts.
Install near toilets, showers, and tubs. For toilets, keep the bar within easy reach from a seated position. For showers, horizontal placement around 33-36 inches is a reliable starting point.
Choose hardware that survives moisture.
Stainless steel and coated metals resist corrosion in wet rooms. Textured grips add control, while decorative finishes can still be safe when the rating and hardware are correct.
Anchor into something solid.
Wall studs give maximum strength. If stud placement does not work, use heavy-duty anchors rated for the load and matched to the wall type. Avoid hollow-wall hardware that can pull loose.
Measure, drill, fasten, then prove it is stable.
Loose grab bars are worse than unhelpful because they create false confidence. Treat the final pull test as part of the installation, not an optional extra.
Mark
Measure the height and mark the exact mounting points.
Find
Locate studs and mark their edges for accurate drilling.
Drill
Create pilot holes into studs or proper anchor points.
Align
Hold the bar on the marks and check it with a level.
Secure
Tighten screws until the flanges sit flush against the wall.
Test
Pull gently from multiple angles. It should not wobble.
Safety depends on load, reach, and surface strength.
Use these benchmarks as a quick pre-install checklist before committing holes to tile, drywall, or backer board.
Installation priority score
Five rules worth following
- 1Mount into studs or use heavy-duty anchors rated for at least 250 pounds.
- 2Position bars near toilets and inside showers where a hand naturally reaches.
- 3Use a level so the bar feels comfortable and does not encourage slipping.
- 4Choose stainless steel or coated metal for long-term wet-room durability.
- 5Follow manufacturer instructions and bring in a professional for complex walls.
Pick the bar style that matches the movement.
The best grab bar is the one that supports the specific transfer or balance problem in the room.
| Type | Best For | Advantages | Install Complexity | Use Case Fit |
|---|---|---|---|---|
| Straight | General support near toilets or showers | ✓ Simple, strong, easy to clean | ✓ Low | ✓ Daily support |
| Angled | Getting in and out of tubs | ✓ Ergonomic grip at changing angles | ~ Medium | ✓ Transfer support |
| Fold-down | Small bathrooms and tight layouts | ✓ Saves space when not in use | ~ Medium to high | ~ Space-saving |
| Decorative | Bathrooms where style matters | ~ Functional when properly rated | ✓ Low to medium | ✗ Not for unrated hardware |
Every safe install connects the same five ideas.
When one link is weak, the whole support system is weaker. Trace the job from user need through maintenance.
Frequently asked questions before you drill.
A cautious installation is still a confident DIY project when the wall type, hardware, and rating are clear.
Can I install a grab bar myself?
Yes, many people can install one with basic tools, careful measuring, and clear instructions. Hire a professional for heavy-duty work, complex wall surfaces, or uncertainty about backing.
How do I know the wall can support it?
The safest method is mounting into wall studs. If the stud location does not fit, use anchors designed for the wall type and rated for at least 250 pounds.
Where is the best place to install one?
Install near toilets, inside showers, and by tubs where standing, sitting, turning, or stepping creates the greatest fall risk.
How should I maintain it?
Check regularly for looseness, rust, damaged screws, and slippery buildup on textured grips. A bar that moves should be repaired before use.
Pick the Perfect Spot for Your Grab Bar — Make It Count
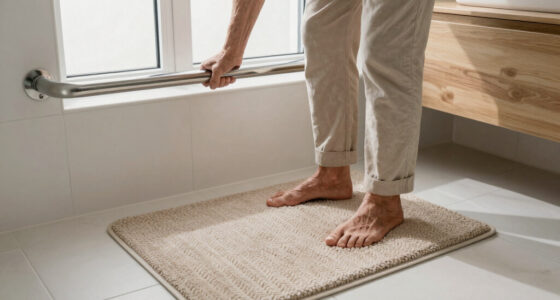
The first step in a safe installation is choosing the right location. Grab bars should go where support is most needed — typically near toilets, in showers, or inside tubs.
For example, near a toilet, place the bar 33-36 inches from the floor, within easy reach from a seated position. In showers, mount the bar horizontally at about the same height, or at a comfortable angle that fits your body and reach.
Think about what’s around you — do you need extra support when getting in or out of the bath? Mark those points before moving on to measurements.
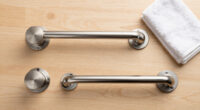
stainless steel grab bar for bathroom
As an affiliate, we earn on qualifying purchases.
As an affiliate, we earn on qualifying purchases.
Choose the Right Grab Bar — Size, Material, and Style Matter
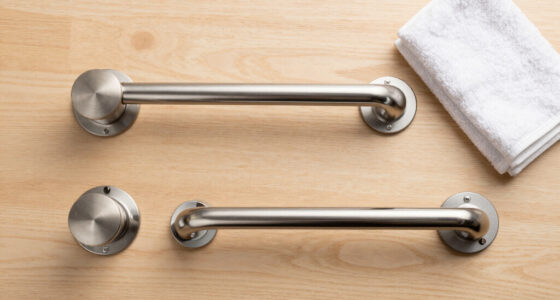
Picking the right grab bar isn’t just about length. You want a sturdy, corrosion-resistant model that can handle at least 250 pounds.
Options include stainless steel for durability, or coated metals to prevent rust — especially in wet environments. Lengths typically range from 16 to 24 inches, depending on space and need.
Imagine a sleek, textured bar that feels secure in your hand, whether you’re pulling yourself up from the toilet or steadying in the shower. The right style should blend safety with your bathroom’s aesthetic.
Choosing the appropriate size and material directly impacts the grab bar’s effectiveness and longevity. A bar that’s too short may not provide adequate support, while one made of inferior materials might corrode or weaken over time, compromising safety. Balancing aesthetics with durability ensures you get a support piece that is both functional and visually pleasing.
heavy-duty wall anchors for grab bars
As an affiliate, we earn on qualifying purchases.
As an affiliate, we earn on qualifying purchases.
Find Solid Support — How to Locate Wall Studs and Use Anchors
Installing into wall studs guarantees the strongest support. Use a stud finder to locate the vertical supports behind your wall surface.
For example, in a typical bathroom wall, studs are spaced 16 inches apart. Mark the edges of the studs with a pencil.
If you’re mounting on drywall without finding a stud, use heavy-duty anchors rated for at least 250 pounds. Avoid hollow-wall anchors that can pull out under weight.
Understanding the importance of proper support is crucial because a grab bar that isn’t anchored into a solid structure risks detachment during use, which can lead to falls and injuries. Properly locating wall studs or choosing high-quality anchors ensures the grab bar can withstand the forces exerted during use, providing reliable safety. This choice involves a tradeoff: mounting on studs offers maximum strength but may limit placement options, while anchors provide flexibility but require careful selection and installation to match the load requirements.
bathroom grab bar installation kit
As an affiliate, we earn on qualifying purchases.
As an affiliate, we earn on qualifying purchases.
Step-by-Step: How to Mount Your Grab Bar Correctly — A Simple 6-Step Guide
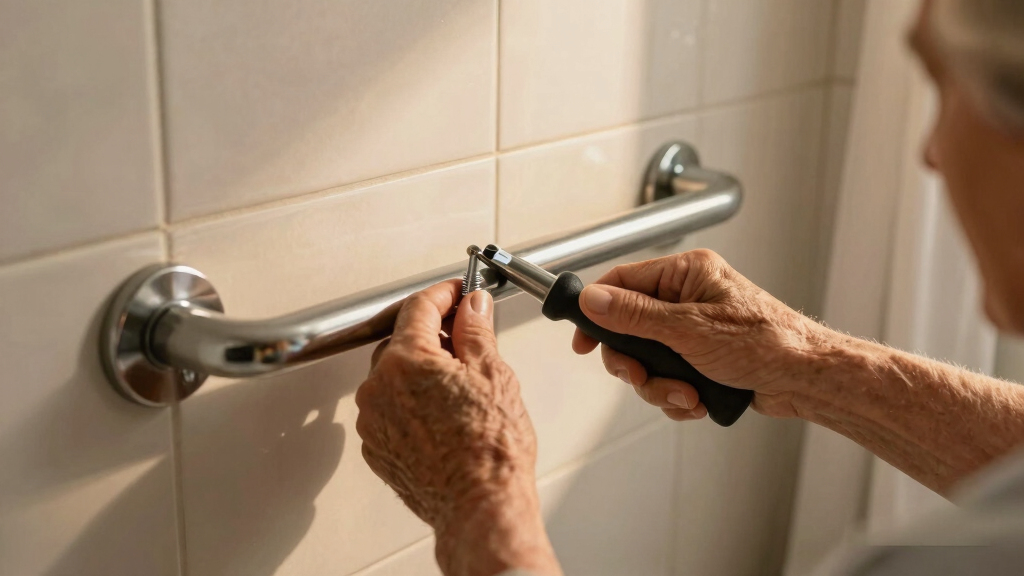
- Measure and mark the exact spots where the grab bar will go, using the height and location you decided on.
- Locate the wall studs with your stud finder, then mark their edges for precise drilling.
- Drill pilot holes into the studs or into the anchors if using drywall.
- Align the grab bar with your markings, then hold it in place.
- Secure it tightly with screws, making sure it’s level and flush against the wall.
- Double-check stability by pulling gently — it should not wobble or shift.
For example, a homeowner installing near the shower used a level to ensure the bar was perfectly horizontal, avoiding discomfort or slips during use.
Properly following these steps ensures the grab bar is secured firmly, which is essential because loose or improperly mounted bars can give a false sense of security and increase the risk of accidents. Ensuring the screws are tight and the bar is level also prevents unnecessary strain on the mounting points, which could lead to failure over time. This process balances ease of installation with the need for a safe, durable support that will last for years.
adjustable height grab bar for shower
As an affiliate, we earn on qualifying purchases.
As an affiliate, we earn on qualifying purchases.
Stay Safe and Compliant — Follow the Rules for Maximum Support
Always follow the manufacturer’s instructions. Confirm the grab bar’s weight rating before installation, and ensure it’s properly anchored into studs or solid supports.
If you’re in doubt, consulting a professional ensures the job is done safely. Remember, a poorly installed grab bar can be more dangerous than none at all.
Adhere to ADA guidelines if you’re making modifications for accessibility — this means proper height, placement, and secure mounting to support at least 250 pounds.
Understanding and following these rules not only guarantees the safety and durability of your installation but also helps prevent legal issues related to non-compliance. Properly installed grab bars that meet safety standards reduce liability and provide peace of mind, especially if the support is intended for vulnerable users. The tradeoff here involves investing time and effort upfront to ensure long-term safety and compliance, which ultimately protects you and your loved ones.
Compare Your Options: Types of Grab Bars and Their Best Uses
| Type | Best For | Advantages |
|---|---|---|
| Straight | General support, near toilets or showers | Simple, strong, easy to clean |
| Angled | Getting in and out of tubs, or for easier grip | More ergonomic, offers support at different angles |
| Fold-down | Small bathrooms, space-saving needs | Can fold away when not in use, saves space |
| Decorative | Blends into bathroom design | Functional and stylish |
Choosing the right type depends on your space, mobility needs, and aesthetic preferences. For example, a fold-down grab bar can be a lifesaver in a tiny shower stall, but a straight bar might be best for sturdy, everyday support.
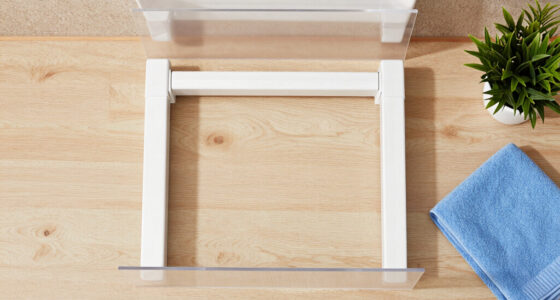
Remember, selecting the appropriate type involves considering how each option interacts with your daily routines and the overall bathroom layout. An angled or fold-down bar may offer more versatility but could require more complex installation or maintenance. Balancing these factors ensures you select a support system that not only fits your space but also provides reliable safety over time.
Frequently Asked Questions
Can I install a grab bar myself, or do I need a professional?
Many people successfully install grab bars on their own if they have basic tools and follow clear instructions. However, for heavy or complex setups, especially on drywall, hiring a professional ensures safety and compliance.How do I know if my wall can support a grab bar?
The safest choice is to mount into wall studs. Use a stud finder to locate them. If installing on drywall, use rated anchors designed for heavy loads. Avoid hollow or weak surfaces to prevent accidents.What height should I install my grab bar at?
Most experts recommend mounting grab bars between 33 and 36 inches from the floor. Adjust based on your height and comfort, ensuring easy reach from a seated or standing position.Are all grab bars suitable for wet environments?
No, only those made from corrosion-resistant materials like stainless steel or coated metals are safe for wet areas. Check product labels to ensure they’re rated for bathroom use.How long does installation typically take?
For a straightforward project, expect about 30 minutes to an hour. More complex setups or wall types may take longer, especially if you need to locate studs or drill into tile.Conclusion
A well-installed grab bar can be a game-changer for bathroom safety — providing stability and peace of mind with just a few simple steps. Remember, safety starts with secure mounting on solid surfaces. Before you drill, visualize the support you need and double-check your work. Your bathroom should be a place of comfort, not risk.Fall yard work Picks
leaf blowers
As an affiliate, we earn on qualifying purchases.